Troubleshooting 3D Printed Prototypes: Common Issues and How to Fix Them
| Issue Category | Specific Issue | Solutions |
| Warping and Distortion | Warping affects lower layers.
Corners lift and distort the shape. |
Use a heated bed to maintain a consistent temperature.
Apply adhesives to enhance first-layer adhesion. Gradually increase cooling fan speed. |
| Stringing and Oozing | Extruder leaves strands of filament between parts.
Caused by oozing during movement. |
Optimize retraction settings (distance and speed).
Lower printing temperature. Use high-quality, dry filament. |
| Layer Shifting | Misaligned layers leading to a skewed print.
Due to mechanical issues or calibration errors. |
Tighten belts and pulleys for accurate movement.
Calibrate stepper motors regularly. Avoid over-speeding; choose moderate print speeds. |
| Incomplete Prints/Extrusion Issues | Under-extrusion due to clogged nozzles or improper filament feeding. | Clean the nozzle regularly to prevent clogs.
Adjust filament tension appropriately. Use high-quality filament and store it properly. |
| Poor Surface Finish | Rough or uneven surface finish.
Layer-by-layer process leaves visible lines. |
Optimize layer height for a smoother finish.
Employ post-processing techniques (sanding, smoothing, painting). Adjust print speed and temperature for better quality. |
3D printed prototypes revolutionize product design and manufacturing by providing a fast, cost-effective means to conceptualize, test, and refine ideas. However, the process is not without challenges. This article dissects 5 common issues encountered with 3D printed prototypes and offers practical solutions to ensure successful outcomes.
1. Warping and Distortion
Warping, a common challenge in 3D printing service, primarily affects the model’s lower layers. This issue arises when these bottom layers cool and contract more rapidly than the upper layers. This uneven cooling rate results in the lifting and bending of the corners, distorting the intended shape of the prototype. This distortion not only affects the aesthetic appeal but can also compromise the structural integrity of the printed object.
How to Solve Warping and Distortion with 3D Printed Prototypes?
- Use a Heated Bed: Implementing a heated print bed is a key strategy to combat warping. The heat from the bed ensures a uniform temperature across the print’s base, significantly reducing the likelihood of the bottom layers cooling and contracting faster than the top layers. This consistent temperature control helps in maintaining the prototype’s shape as intended.
- Optimize Adhesion: Strengthening the first layer’s adhesion to the print bed is crucial. Applying adhesives such as glue or hairspray to the print bed can substantially improve the grip of the initial layer. This enhanced grip prevents the corners of the print from lifting, thereby reducing warping. It’s important to select an adhesive that is compatible with both the filament material and the print bed to ensure optimal results.
- Adjust Cooling Fans: The role of cooling fans in 3D printing is to solidify the filament as it is deposited. However, if the fans operate at full capacity immediately, they can cause a sharp temperature gradient between the different layers of the print. To prevent this, it’s advisable to gradually increase the fan speed, allowing the print to cool at a more controlled rate. This approach minimizes the temperature difference between layers, thus reducing the risk of warping.
By addressing the issue of warping and distortion through these methods, the integrity and accuracy of 3D printed prototypes can be significantly improved. Ensuring a uniform temperature, enhancing adhesion, and controlling cooling are key to achieving high-quality, distortion-free prints.

2. Stringing and Oozing
Stringing and oozing in 3D printing are issues that disrupt the clean finish of a print. They occur when the printer’s extruder inadvertently leaves behind thin, spiderweb-like filaments across different parts of the model. This usually happens during the movement of the extruder from one section of the print to another without extruding the filament. The result is a series of unwanted, fine strings that can affect the aesthetic quality and precision of the 3D printed prototype.
Solutions to Stringing and Oozing with 3D Printed Prototypes
- Optimize Retraction Settings: Retraction is a key slicer setting that pulls back the filament whenever the extruder moves across open spaces. Optimizing retraction involves fine-tuning both the distance and speed of this retraction. By increasing the retraction distance and speed, the printer can effectively minimize the amount of filament that oozes out during these travel moves. It’s a delicate balance; too much retraction can lead to other issues like under-extrusion, while too little allows stringing to persist.
- Adjust Printing Temperature: The temperature at which the filament is extruded plays a significant role in stringing and oozing. If the temperature is set too high, the filament becomes overly fluid, leading to an increased tendency to ooze. By methodically lowering the printing temperature, you can reduce this fluidity, thereby minimizing the chances of stringing. It’s crucial to find the optimal temperature that works for the specific type of filament being used, as different materials have different ideal extrusion temperatures.
- Use High-Quality Filament: The quality of the filament is paramount in preventing stringing and oozing. High-quality filament typically has fewer impurities and a more consistent diameter, which contributes to more predictable melting and extrusion behavior. Additionally, ensuring that the filament is dry is crucial, as moisture can cause the filament to bubble and pop, leading to stringing. Storing filament in a dry, airtight environment can help maintain its quality over time.
Addressing stringing and oozing through these measures significantly enhances the surface quality of 3D printed prototypes. By refining retraction settings, adjusting the printing temperature, and using high-quality, well-maintained filament, the prints can achieve a cleaner and more professional appearance.

3. Layer Shifting
Layer shifting in 3D printing is a significant issue that undermines the structural and visual integrity of a prototype. This problem manifests as misaligned layers, resulting in a print that appears skewed or offset from its intended design. Typically, layer shifting is a consequence of mechanical malfunctions or calibration errors within the 3D printer. These disruptions cause the print head or the build plate to move incorrectly, leading to layers that don’t align as they should.
Solutions to Layer Shifting with 3D Printed Prototypes
- Tighten Belts and Pulleys: One of the primary mechanical causes of layer shifting is the loosening of belts and pulleys. These components are responsible for the precise movement of the print head and build plate. When they are not adequately tightened, their slackness leads to imprecise movements, causing the layers to shift. Regularly inspecting and tightening these belts and pulleys ensures that they provide the correct tension for accurate movement. It’s also important to check their alignment, as misaligned components can also contribute to layer shifting.
- Calibrate Stepper Motors: The stepper motors in a 3D printer control the exact movements of the print head and build plate. Over time, these motors can become miscalibrated, leading to inaccurate movements. Regular calibration of the stepper motors is crucial for maintaining the precision of the printer’s movements. This process involves adjusting the motor’s steps per millimeter settings, ensuring that each movement is exactly as long as it needs to be. Proper calibration of stepper motors is a key step in preventing layer shifting and ensuring the fidelity of the 3D printed prototype.
- Avoid Over-Speeding: The speed at which a printer operates can also impact layer alignment. Printing too fast puts additional strain on the motors and mechanical components, potentially leading to layer shifting. By selecting a moderate print speed, the movements of the print head and build plate can be more controlled and precise. This not only reduces the risk of layer shifting but also can improve the overall quality of the print. It’s a balance between efficiency and precision; finding the optimal speed for a specific printer and material is essential for achieving the best results.
Addressing layer shifting by tightening belts and pulleys, calibrating stepper motors, and moderating print speeds is crucial in 3D printing. These solutions ensure that each layer of the prototype aligns correctly, resulting in a finished product that meets design specifications both functionally and aesthetically. Accurate and reliable 3D printing hinges on the precise coordination of a printer’s mechanical and electronic systems, and these measures are central to achieving that coordination.
4. Incomplete Prints or Extrusion Issues
Incomplete prints and extrusion problems are common hurdles in the realm of 3D printing, often leading to under-extrusion where insufficient material is deposited. These issues frequently stem from clogged nozzles or improper filament feeding. A clogged nozzle can obstruct the smooth flow of filament, while incorrect feeding can disrupt the consistent supply of material. These challenges not only compromise the structural integrity of the printed object but also its aesthetic quality.
Solutions
- Clean the Nozzle: Regular maintenance of the printer’s nozzle is vital to prevent clogging, a primary cause of extrusion issues. Over time, filament residues can accumulate inside the nozzle, leading to blockages. To address this, use a fine needle or a specialized nozzle-cleaning tool to remove any obstructions. This cleaning should be performed delicately to avoid damaging the nozzle. For more stubborn clogs, heating the nozzle before cleaning can soften the residue, making it easier to remove.
- Adjust Filament Tension: The tension on the filament feeder plays a critical role in ensuring consistent filament flow. If the tension is too tight, it can grind the filament, leading to under-extrusion or even complete blockage. Conversely, if the tension is too loose, the feeder might not be able to grip and push the filament effectively. Finding the right balance is key; the filament should feed smoothly without slipping or being overly compressed. Regular checks and adjustments of the feeder’s tension can greatly improve print consistency and quality.
- Check Filament Quality: The quality of filament used in 3D printing cannot be overstated. Low-quality or damaged filament can be prone to irregularities, such as fluctuating diameters or the presence of contaminants, which can lead to inconsistent extrusion. To mitigate this, it’s essential to use high-grade filament from reputable sources. Additionally, proper storage of filament is crucial. Keeping it in a dry, dust-free environment prevents moisture absorption and contamination, which are common culprits behind extrusion issues.
By tackling these issues, 3D printing enthusiasts and professionals alike can significantly reduce the occurrences of incomplete prints and extrusion problems. Regular nozzle maintenance, proper adjustment of filament tension, and the use of high-quality filament are fundamental practices that enhance the reliability and quality of 3D printed prototypes. Implementing these solutions ensures smoother, more consistent, and successful 3D printing experiences.
5. Poor Surface Finish
A key concern in 3D printing is achieving a desirable surface finish. Often, prototypes emerge with a rough or uneven surface, which can be a significant drawback, especially for prototypes that require a high level of aesthetic or functional precision. This roughness is typically due to the layer-by-layer construction process of 3D printing, where each layer may not seamlessly blend into the next, leaving visible lines or a grainy texture.
Solutions
- Optimize Layer Height: One effective way to enhance surface smoothness is by adjusting the layer height. Lowering the layer height results in thinner layers, which can blend more seamlessly, offering a smoother finish. However, it’s important to note that this adjustment usually leads to longer print times, as the printer has to deposit more layers to complete the object. Balancing the desired level of smoothness with the practical aspect of print duration is crucial in deciding the optimal layer height.
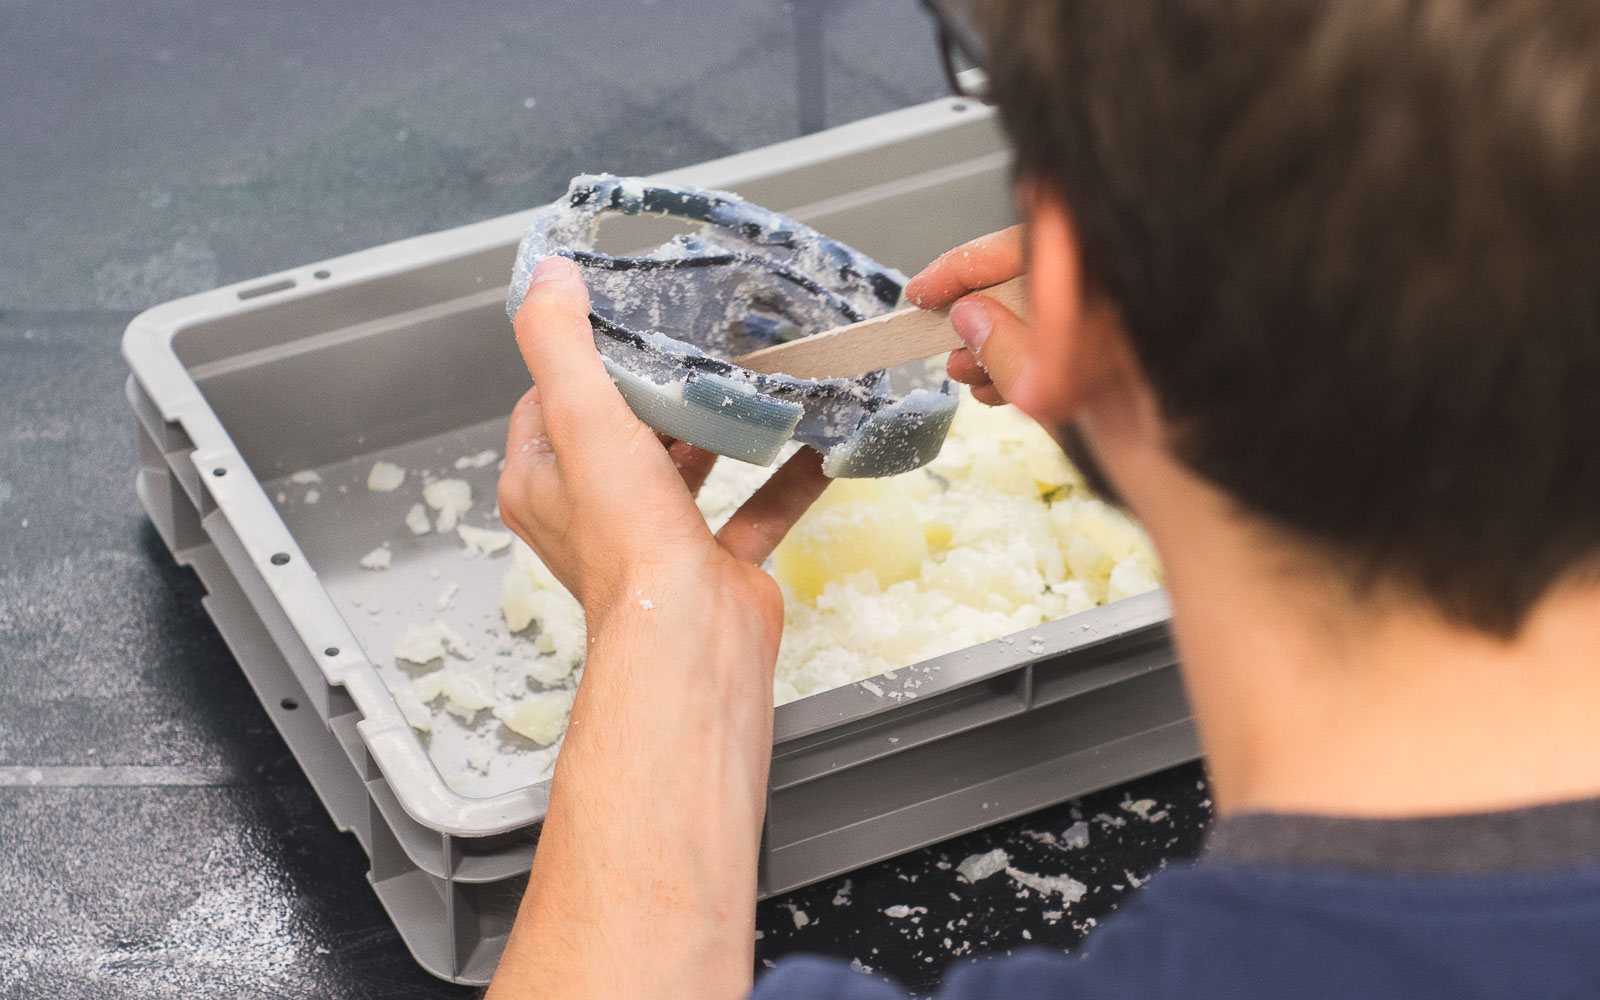
- Post-Processing Techniques: Post-processing plays a significant role in improving surface finish. Various techniques can be applied depending on the material and desired outcome. For instance, sanding is a common method to smooth out the surface. It involves using fine-grit sandpaper to gently remove the rough outer layer. For ABS plastics, acetone vapor smoothing is a popular choice. This technique uses acetone vapors to melt the surface slightly, resulting in a smooth, glossy finish. Additionally, painting can not only enhance the visual appeal but also mask minor surface imperfections. When applying post-processing techniques, care must be taken to preserve the integrity and dimensions of the prototype.
- Adjust Print Speed and Temperature: Fine-tuning the printer’s speed and temperature settings can also contribute to a better surface finish. Printing at a slower speed allows for a more precise deposition of material, potentially leading to a smoother surface. Similarly, adjusting the extrusion temperature can affect the fluidity of the filament. A slightly higher temperature can make the material more pliable, allowing it to settle more smoothly, but too high a temperature can lead to issues like warping or stringing. Finding the right balance of speed and temperature is essential and might require some experimentation based on the printer and filament type.

By addressing the issue of poor surface finish through these methods, the overall quality and appearance of 3D printed prototypes can be significantly improved. Fine-tuning layer height, employing post-processing techniques, and adjusting print speed and temperature are key strategies in achieving a smooth and aesthetically pleasing surface on 3D printed objects. Implementing these solutions can elevate the standard of 3D printed prototypes, making them more suitable for professional and consumer applications.


